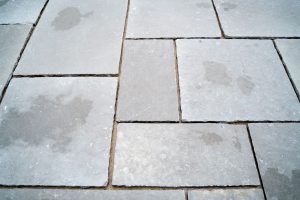
STEP 1 – PREPARATION
Ensure joints are clean, free from debris and a minimum of 20mm depth and 5mm wide. Narrower joints can be pointed with Joint Tec using the edge of a trowel or similar.
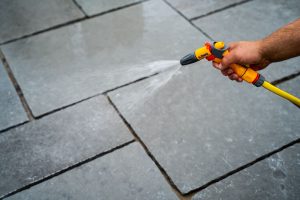
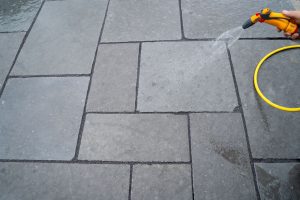
STEP 2 – WET AREA
Ensure the entire area to be pointed is thoroughly saturated with water prior to spreading Joint Tec. On a dry day keep re wetting the area, if it is drying out.
NB. It is essential all areas to be pointed are saturated in water prior to pointing and remain wet for the entire process.
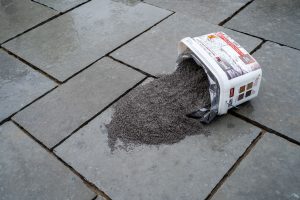
STEP 3 – APPLY PRODUCT
Open the Joint Tec product and remove bag. Open the vac packed bag and pour Joint Tec onto areas to be pointed. Use in small manageable amounts, avoid spreading over a large area before application.
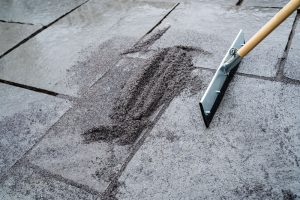
STEP 4 – WORK INTO JOINTS
With a stiff brush or squeegee brush Joint Tec into all joints, ensuring all joints are filled and compacted.
STEP 5 – CONTINUOUSLY WASHING
With a hose on sprinkle, add more water to help residual compound flow into the joints of the paving and to aid the final compaction process.
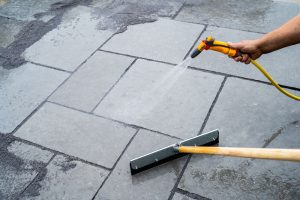
STEP 6 – FINAL WASH & CLEAN
Apply a final gentle spray of water across the surface to wash off any Joint Tec residue. Always sweep with a clean brush diagonally across joint to remove any loose grains.
Take care not to brush product out of joints or into nearby drains.
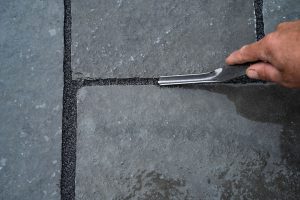
STEP 7 – SMOOTH THE JOINTS
It is not essential but we do recommend to ‘strike’ or ‘point’ the surface of the joints with a suitable pointing tool. This will ensure the joints are all below the surface of the paving, resulting in a perfect finish to your paving.
We recommend you carry out a sample paving section to confirm the suitability of Joint tec for the conditions and paving type.
Important: Please note that staining can occur on paving especially near the joints, if it is not kept wet throughout the application process and if the surface of the paving is not cleared of any surplus compound. Please ensure the whole area is kept soaked throughout the process , especially on warmer days.